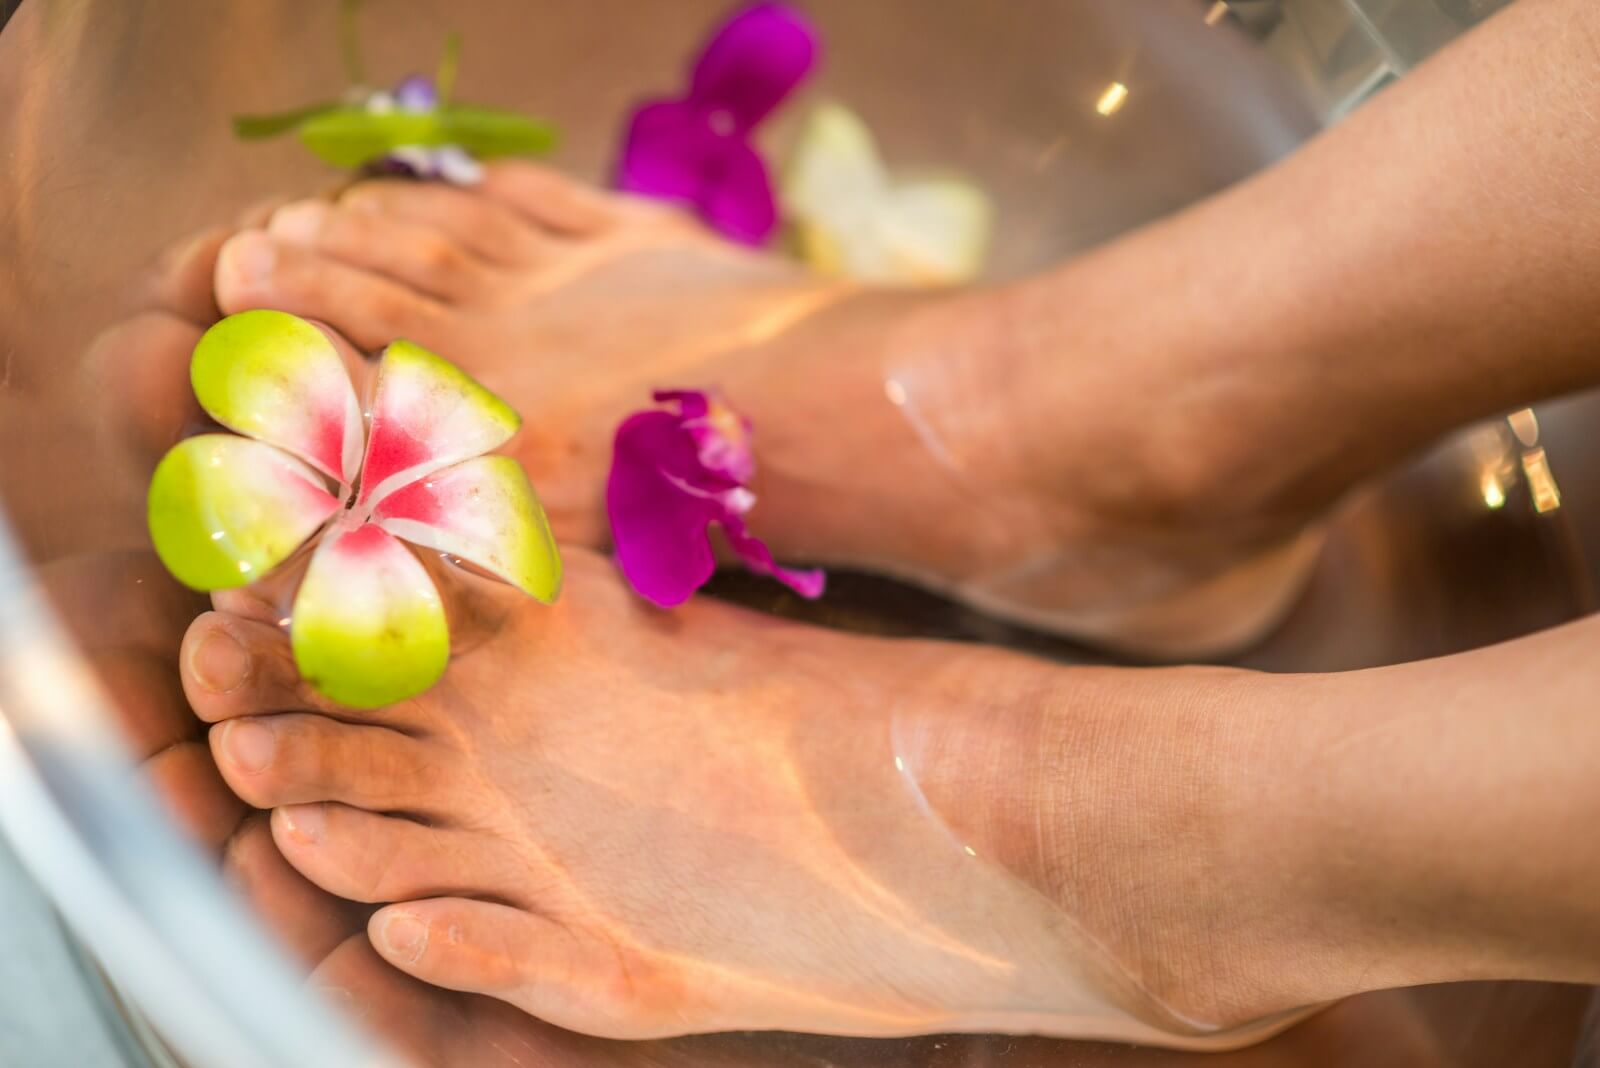
Foot massage is an ancient form of therapy that has been used for centuries to promote relaxation and reduce stress. This simple yet effective technique can provide immense relief, melting away tension and leaving you feeling refreshed and rejuvenated. Whether you’re giving the massage to yourself or someone else, this guide will walk you through various techniques to ensure a blissful experience.
Basic Stroke Styles
Foot massages come in different styles, each with its own unique benefits:
Effleurage:
- Long, flowing motions that warm up the muscles.
- Preparation for deeper pressure work.
- Helps increase circulation and relaxes the muscles.
Petrissage:
- Squeezing and releasing actions targeting specific areas of tension.
- Targets knots and tight spots in the foot.
- Promotes muscle relaxation by breaking down lactic acid.
Tapotement:
- Light, drumming motions to stimulate blood flow.
- Helps increase circulation and relieve muscle stiffness.
Pressure Points for Relief
Pressure points on the feet—known as reflexology points—can help relieve pain and promote relaxation. These points correspond to different organs and systems in the body:
- Heels: Located at the back of the foot, these pressure points can soothe soreness and provide relief from tension.
- Toes: Small but sensitive areas that respond well to gentle pressure, promoting overall relaxation.
- Arch: This area is crucial for balancing the weight of the body. Massaging it can relieve strain and improve posture.
Tips for Targeting Specific Areas
Targeting specific zones in a foot massage ensures you address the most common areas of tension effectively:
Heels:

- Use your thumbs to apply gentle circular motions, starting from the back towards the front.
- This motion helps smooth out any roughness and release deep-seated tension.
Arch:
- Use long, gliding strokes to work out knots and kinks in this crucial area.
- Focus on areas where you feel the most strain or discomfort.
Toes:
- Massage each toe gently between your thumb and fingers.
- Apply light pressure with circular motions to soothe and calm the nervous system.
Preparing Your Feet for a Massage
Proper preparation ensures your foot massage is both relaxing and effective:
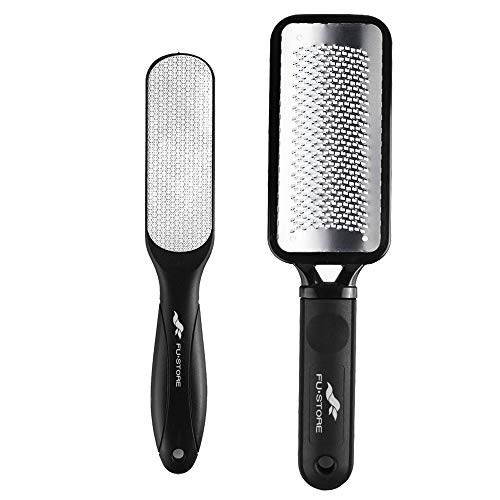
Cleansing and Exfoliating:
- Wash your feet with warm water and mild soap.
- Use a pumice stone or foot file to gently exfoliate the heels and any other dry areas.
Positioning:

- Sit comfortably with your feet flat on the floor or on a footrest for maximum comfort.
- Elevating your feet by propping them up on pillows can help reduce strain in your back or neck.
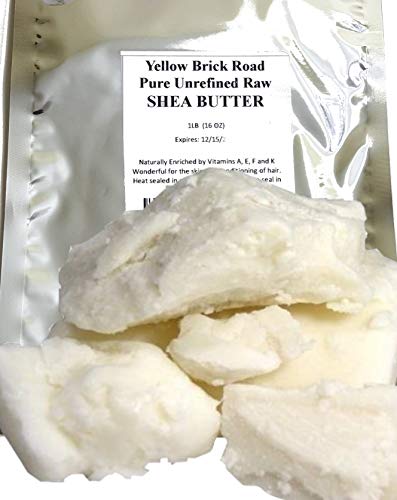
Oiling or Lubricating:
- Apply massage oil, lotion, or even a rich moisturizer like coconut oil to your feet.
- Focus on dry areas and apply liberally for easier manipulation.
Massaging Specific Foot Areas
Heels
- Use gentle circular motions starting at the back of the heel and moving forward.
- Gradually increase pressure as you move towards the front of the foot.
Toes
- Massage each toe gently between your thumb and fingers.
- Apply long, flowing strokes to stimulate nerve endings without being too forceful.
Ankle
- Use gentle circular motions with your fingers, starting from the back of the ankle and moving forward.
- Loosen any stiff joints by applying pressure as if you’re cracking a hinge.
Common Areas of Tension
Ball of the Foot
- The ball of the foot is a common area of tension due to repeated pressure and friction.
- Use gentle circular motions with your fingers or thumbs, applying moderate pressure.
- This can release deep-seated tension and improve range of motion.
Arch
- Tightness in this area can cause pain, especially when wearing improper shoes or doing too much walking.
- Massage it with long gliding strokes to promote flexibility and reduce pain.
- Use gentle to moderate pressure to target the muscles and tendons.
Ankle Joints
- The talocrural and subtalar joints are prone to stiffness and tension.
- Use gentle circular motions with your fingers or thumbs to relax the surrounding muscles and tendons.
- Apply gentle pressure to help reduce pain and increase flexibility.
Additional Tips
- Deep Breathing: Encourage deep breathing throughout the massage. This helps relax both you and the person receiving the massage.
- Feedback: Ask for feedback during the massage. Adjust your technique as needed based on the recipient’s comfort level.
- Hydration: Drink water before starting the massage to stay hydrated, which can help with overall relaxation.
Foot massages are not just about relaxation; they offer significant therapeutic benefits. By following these detailed techniques and preparation steps, you can create a personalized and soothing experience for yourself or someone else. Take your time, breathe deeply, and enjoy the journey of relaxation and rejuvenation through foot massage therapy.